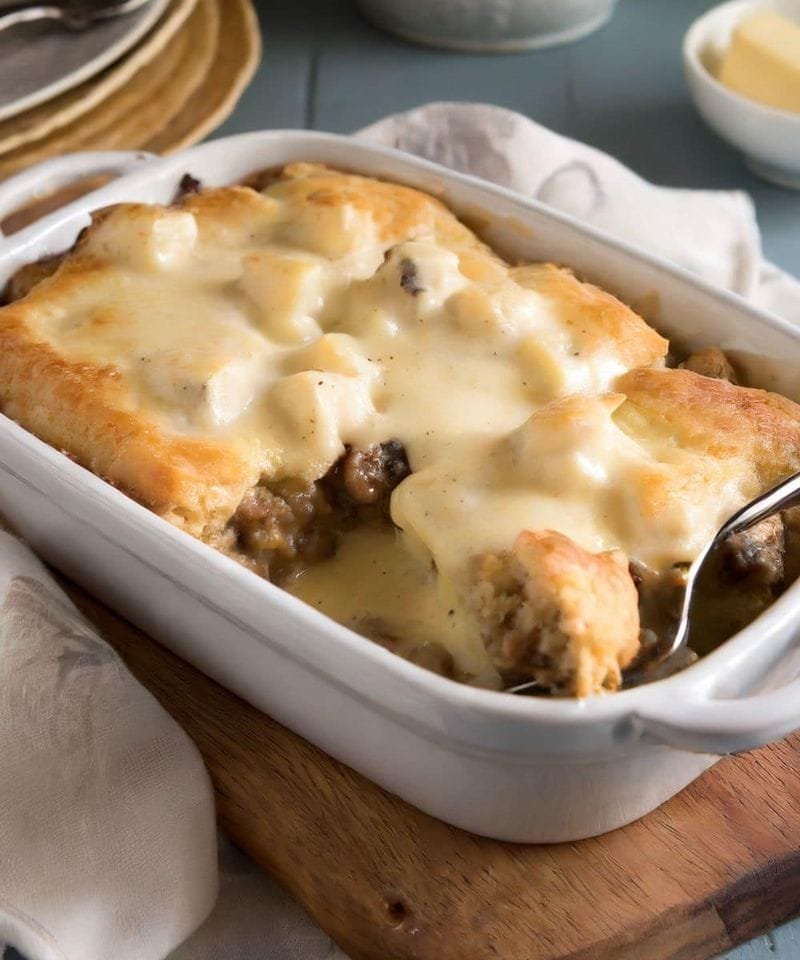
Fresh rosemary, garlic, olive oil, and butter enrich the soft, fluffy inside of this handcrafted rosemary garlic artisan bread, which has a crispy, golden-brown crust. Serve it with spaghetti, soups, salads, or as a tasty snack that may be dipped in olive oil.
Preparation Time: 20 minutes Rising Time: 1½–2 hours Baking Time: 30–40 minutes Total Time: Approximately 2½–3 hours Yield: 1 large loaf
Ingredients
Regarding the bread dough
Three cups (375 g) of bread flour or all-purpose flour
One cup (240 ml) of warm water
Two and a half teaspoons (7 g) of active or instant dry yeast
One tablespoon of olive oil
One teaspoon of honey or sugar
One teaspoon of salt
For the garlic rosemary topping
3 tablespoons melted butter
2 tablespoons olive oil
4–5 garlic cloves, finely minced
1–2 tablespoons fresh rosemary, finely chopped
1 teaspoon fresh thyme leaves (optional)
½ teaspoon flaky sea salt
A few fresh rosemary sprigs for decoration
¼ cup grated Parmesan cheese (optional)
½ teaspoon freshly ground black pepper (optional)
Step-by-Step Instructions
Step 1: Activate the yeast
Pour the warm water into a small bowl. Add the sugar and yeast, then stir gently to combine. Allow the mixture to rest for 5–10 minutes until it becomes foamy on the surface.
If you are using instant yeast, you can mix it directly with the flour instead. Make sure the water is warm rather than hot, as excessively hot water can damage the yeast and prevent the dough from rising.
Step 2: Mix the dough
In a large mixing bowl, combine the flour and salt. Add the yeast mixture and one tablespoon of olive oil. Stir with a wooden spoon until the ingredients come together and form a rough dough.
If the dough feels too dry, add a little water, one tablespoon at a time. The dough should be soft and slightly sticky. Avoid adding too much extra flour, as this can make the bread heavy and dry.
Step 3: Knead the dough
Transfer the dough to a lightly floured countertop. Knead for 8–10 minutes by pushing the dough away with the heel of your hand, folding it back, and repeating the process.
Continue kneading until the dough becomes smooth, elastic, and stretchy. If you prefer, use a stand mixer fitted with a dough hook and knead for approximately 5–7 minutes.
Proper kneading helps develop gluten, which gives the bread its structure and soft interior.
Step 4: Allow the dough to rise
Lightly grease a clean bowl with olive oil. Place the dough inside and turn it once so that the surface is lightly coated.
Cover the bowl with a clean kitchen towel or plastic wrap. Leave it in a warm place for 60–90 minutes, or until the dough has doubled in size.
If your kitchen is cool, the dough may need additional time. Allow it to rise until visibly puffy rather than relying entirely on the clock.
Step 5: Prepare the garlic rosemary butter
While the dough rises, prepare the topping. In a small bowl, combine the melted butter, olive oil, minced garlic, chopped rosemary, and thyme.
Stir well to distribute the garlic and herbs evenly. Reserve a small amount of the mixture for brushing over the bread after baking.
Fresh rosemary gives the loaf a wonderful aroma and earthy flavor. If using dried rosemary instead, use approximately one-third of the amount required for fresh rosemary.
Step 6: Shape the loaf
Once the dough has doubled in size, gently press it to release excess air.
Transfer it to a lightly floured surface and shape it into an oval loaf. Fold the edges underneath and gently smooth the surface.
Place the shaped dough on a baking tray lined with parchment paper. Brush the top generously with the garlic rosemary mixture, reserving some for later.
Sprinkle with flaky salt, black pepper, or Parmesan cheese if desired. Arrange a few fresh rosemary sprigs across the top for a rustic appearance.
Using a sharp knife, make three or four shallow diagonal cuts across the surface. These slashes allow the loaf to expand during baking.
Step 7: Let the shaped dough rest
Cover the loaf loosely with a clean kitchen towel and allow it to rest for 15–20 minutes while you preheat the oven.
This short resting period helps the dough relax and improves its final texture. Meanwhile, preheat your oven to 220°C (425°F).
For a softer crust, bake the bread on the middle rack. For a crispier artisan-style crust, you can introduce steam into the oven using a separate oven-safe pan filled carefully with hot water.
Step 8: Bake the bread
Place the tray in the preheated oven and bake at 220°C (425°F) for 15 minutes.
Reduce the temperature to 200°C (400°F) and continue baking for another 15–25 minutes, depending on the size and thickness of your loaf.
The bread should develop a rich golden-brown crust, and the bottom should sound hollow when tapped. If the garlic or rosemary begins to darken too quickly, loosely cover the loaf with aluminum foil for the remainder of the baking time.
For an accurate check, the center of the bread should reach approximately 93–96°C (200–205°F).
Step 9: Brush with garlic butter
Remove the bread from the oven and place it on a wire rack. Immediately brush the warm crust with the reserved garlic rosemary butter.
This final coating enhances the flavor, adds a beautiful sheen, and helps keep the crust aromatic and delicious.
Allow the loaf to cool for at least 20–30 minutes before slicing. Cutting it too early can cause the interior to become gummy because the bread is still releasing steam.
Step 10: Slice and serve
Use a serrated bread knife to slice the loaf into thick pieces. Serve warm while the crust is crisp and the interior remains soft and fluffy.
Enjoy it with olive oil for dipping, creamy soups, tomato soup, pasta, roasted vegetables, or grilled chicken. You can also toast leftover slices and spread them with butter for a simple, flavorful snack.
Tips for Perfect Rosemary Garlic Bread
Use fresh rosemary: Fresh herbs provide a brighter fragrance and better flavor.
Do not over-flour the dough: Slightly sticky dough generally produces a softer loaf.
Watch the garlic carefully: Minced garlic can burn at high temperatures, so mix it thoroughly with the butter and oil.
Allow sufficient rising time: Properly risen dough produces a lighter texture and better volume.
Cool before slicing: Resting allows the crumb to set and makes slicing easier.
Add Parmesan for extra flavor: A little grated Parmesan creates a savory, cheesy crust.
Storage Instructions
Store the completely cooled bread in an airtight bag or container at room temperature for up to 2 days. Avoid refrigerating it, as refrigeration can make bread go stale faster.
To store it longer, slice the loaf and place the slices in a freezer-safe bag. Freeze for up to 2 months. Reheat individual slices in a toaster, or warm the whole loaf in a 175°C (350°F) oven for 8–10 minutes.